I love cheese - whether it is mild, medium or strong, cream cheese or parmesan, blue or any other colour or flavour - there are very few cheeses that I’ve tried that I haven’t liked.
However, I’ve always thought that making cheese was a long, drawn out affair. Not any more!
Here’s how easy it is:
You will need - milk, a deep pan, stirring spoon, vinegar, a colander, a bowl large enough to hold the colander, and some cheese cloth.
1. Get some milk, any regular store-bought variety will do, just keep in mind that the richer the milk is with the cream content, the more cheese you will end up with. For example, 3.25% milk with give you more cheese than 1%. You can also mix your milks. I made some cheese the other day that used up some 1%, 2%, half and half, and whipping cream.
2. Dump the milk into a pan deep enough to hold all the milk you are going to use. Turn on the heat (not too high) and bring it just to a boil. DO NOT walk away from the stove during this part, as milk has a tendency to come to a boil the moment your back is turned and overflow the pot! I’ve had experience with this and it is very messy. This is the longest part of the process… waiting for the milk to get hot enough.
3. The moment it starts to boil, take the pan off the element (turn off the element) and add the “secret ingredient” - the acidic potion that will pull the cheese out of the milk. This can be pretty much any vinegar you may have on hand, or lemon juice will work as well. For my first cheese, I used white wine vinegar. When adding the vinegar, add it one tablespoon at a time, stir then add another, stir, until you see it separate into curds and whey (lumps and watery liquid).
This basically makes the milk curdle and the “curds” are your cheese. Make sure the cheese cloth is draped over the colander and that the colander is inside the bowl. Pour the entire concoction into the cheese cloth. Lift the colander, shaking it a bit and wait till most of the liquid has drained off, then put the colander on top of the pot. Gather the ends of the cheese cloth together and squeeze more of the liquid out.
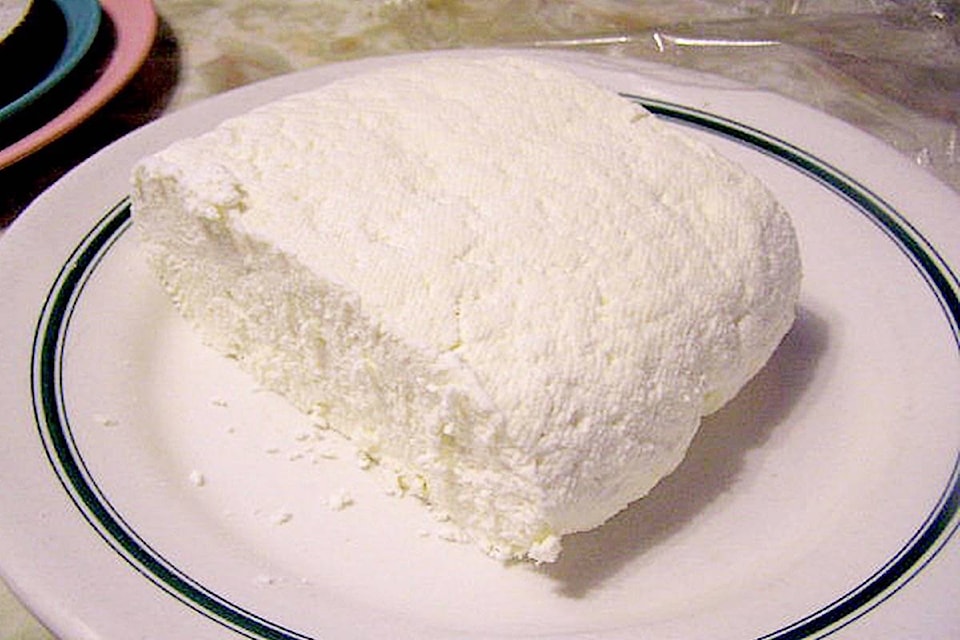
Pat the cheese into whatever shape you like, and you are done. Yum!
Now, don’t dump out the leftover liquid - this is whey and is still quite rich in nutrients and still very usable. You can use it as a milk or water substitute in any recipe. Or, if you have a garden, drizzle it around any plants you have that like acidic soil. I’m using some of my whey to water my blueberry bush. I planted the silly thing in the front garden before I looked up blueberries and discovered they like acidic soil. I should have planted it in the back yard underneath my neighbour’s evergreens. Oh well, the whey will add a little acid to the ground around the blueberries, which will make them happy.
Now, in step number three, I said you could use any vinegar you have on hand. Yes, you can, but keep in mind this will change the flavour of the cheese a little, and possibly also change the colour of your cheese.
My cheese turned out very white. If I had used red wine vinegar, it would have turned out pink.
I think next time, I’m going to use some raspberry vinaigrette that I have in the cupboard. That should make the cheese pink and give it a hint of raspberries.
You can also add a bit of herbs or spices just before you pat it into shape, which will give it another flavour. Experiment and see what you like best.